
How to use a live wall during your event
The live wall turns each upload into visible proof. How to place it, start it, and make it an engine for participation.

Émile Leroux
4 min read
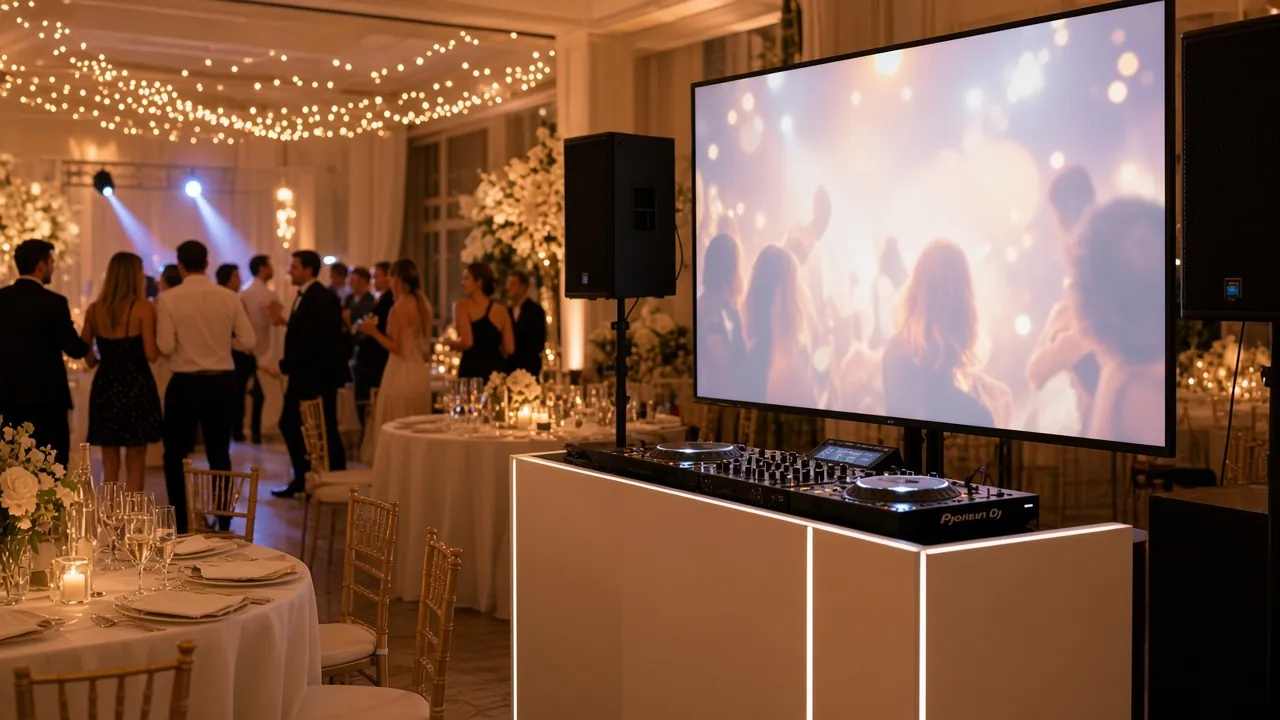
When a guest sees their photo on the wall, the gesture becomes concrete for the whole room. The screen shows that sending is for something.
A visible screen, a QR beside it, a first upload early: after that, the room often imitates the first people.
Why the live wall helps
Without a visible result, scanning a QR stays abstract. With a wall, the guest understands in one second: "my photos join the evening."
It answers the questions you hear often:
- "What is it for?"
- "Does it actually work?"
- "Nobody else is sending, so why should I?"
Less need for long explanations.
Step 1: choose the right spot
Think about the zones where people stop naturally.
Good spots:
- Facing the dance floor, visible from the tables.
- Near the welcome cocktail.
- Behind the DJ or the bar, if eyes already go there.
- On a backdrop wall for group photos.
Avoid:
- A dark corner, or a spot that is too low.
- A screen behind seated people (its back to the room).
- A place where the brightness kills the contrast.
If you only have a laptop or a rental TV, place it where the flow is strongest, not only where it looks good on the floor plan.
Step 2: turn it on before the doors open
The wall has to be ready when the first guests arrive. A black screen or a loading page in the middle of the welcome cocktail breaks the momentum.
Technical checklist:
- Live wall link open in full screen.
- Brightness and volume (if you have sound) set.
- Screensaver and sleep turned off.
- Power cable plugged in (obvious, often forgotten).
Do a test upload with your phone. Confirm that the image appears.
Step 3: place the QR next to the screen
A wall with no QR nearby forces people to look elsewhere. Connect the two:
- A card or a table tent right under the screen.
- The same single sentence: scan, send, appear.
- A format large enough to scan while standing, from one metre away.
You create a simple loop: I see the wall, I scan, I send, I see my photo again.
Step 4: get the first upload early
The first media unlock the rest. Ask two or three trusted people (you, the couple, the DJ, someone close) to send a photo as soon as you open.
When the wall is no longer empty, the next people copy it. Without that first gesture, the screen stays a promise.
Step 5: use the mic only once
You do not need to repeat it all evening. One strong window is enough:
"The photos from the evening appear here. Scan the QR near the screen or on your table."
Point at the screen. Thirty seconds. Then let the wall do the work.
What not to do
- Start the wall at midnight, when the room is already saturated.
- Hide the QR at the other end of the room.
- Play a frozen slideshow instead of a real live feed.
- Let the screen go to sleep after ten minutes.
- Moderate too early: let the evening live, you can hide media later on the host side if you need to.
Variants by venue
Hall with a projector
Full screen, high contrast, QR on a table tent at the foot of the screen.
Living room or loft
A TV is enough. Place it at eye level in the welcome cocktail area.
Outdoors
Prefer a bright screen and a laminated QR. The sun kills weak panels.
No large screen
Show the gallery on a tablet near the entrance. Less spectacular, same logic of proof.
In summary
A visible wall, turned on early, a QR nearby, plus one or two willing uploads at the start. The rest often follows on its own.
Prepare the live wall link the way you prepare the playlist: before the guests arrive, not during.