
How to make a keepsake album after a party
From the selection to the print: a short method for turning a pile of photos into an album you actually want to open.

Émile Leroux
3 min read
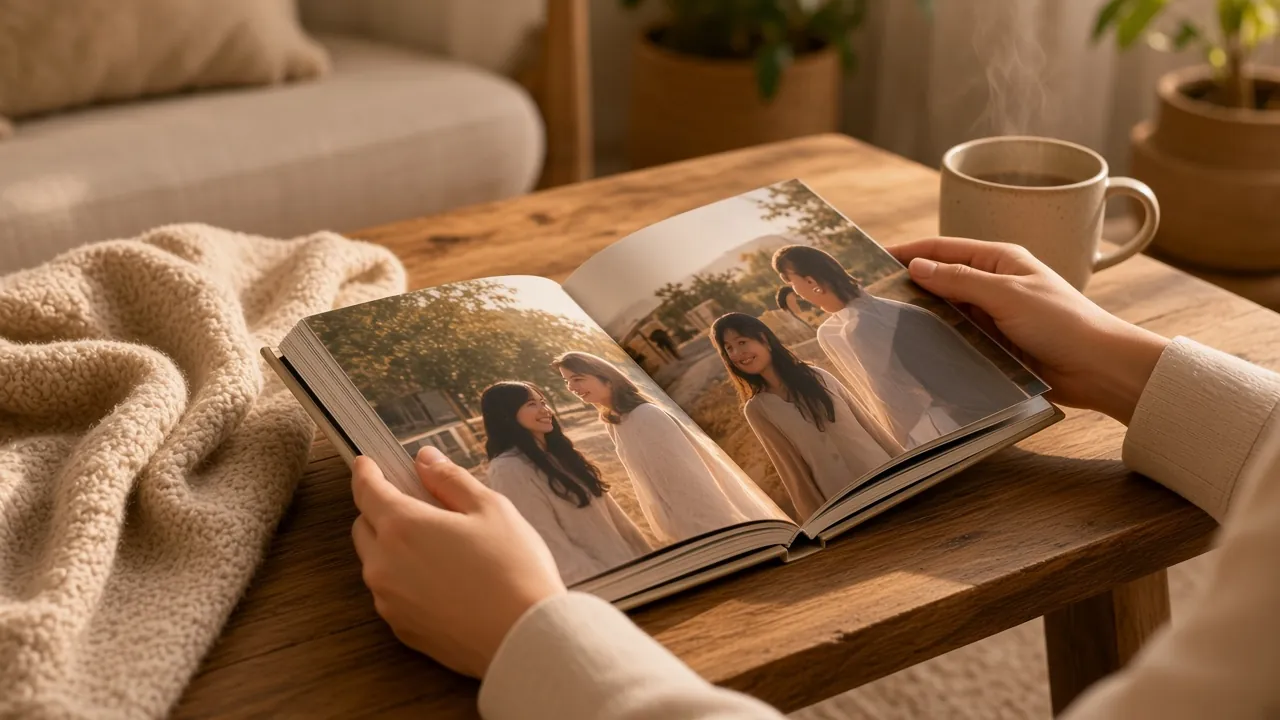
After the party, the photos exist. The album does not exist yet. Between the two, there is mostly sorting. A lot of people quit here, and the files sleep on a drive.
A realistic method for going from "we have everything" to an object you actually open.
In short
Full backup, short selection, a narrative thread, then printing. Keep that order. The files, before the sort, come from how to collect and keep all the photos after the event.
Why "we'll print the best ones" fails
Without a frame, you open the folder, you scroll, you get discouraged. Three weeks later, you still have not chosen.
Finished albums almost always have:
- A clear limit (number of pages or of photos).
- A story (before, during, after).
- A deadline in the calendar.
Step 1: secure the raw material
Before any aesthetic sort:
- Get the photographer's export (if you have one).
- Get the guest collection (ZIP or folder).
- Make one copy on a drive plus one copy in the cloud.
You do not build an album on files still scattered across conversations.
Step 2: set a target size
Simple examples:
- An album of 20 to 30 pages for a birthday.
- An album of 40 to 60 pages for a wedding.
- A mini book of 12 pages for a corporate event or a shower.
The limit forces the choices. That is intentional.
Step 3: build a thread, not a random playlist
An order that works well:
- Arrivals and details (place, flowers, table).
- Strong moments (ceremony, speeches, cake).
- Tables and laughs.
- Dance floor and the end of the evening.
- The next day or brunch, if you have one.
Inside each block, keep 1 wide photo plus 2 details, rather than 12 identical medium shots.
Step 4: select in two passes
Pass 1 (quick): drop the blurry ones, the duplicates, the closed eyes, the tests.
Pass 2 (narrative): for each section, choose only what moves the story forward.
If two photos tell the same thing, keep the one with more emotion or sharpness, not both.
Step 5: mix the sources on purpose
Pro photos: portraits, controlled light, official moments.
Guest photos: spontaneity, unexpected angles, the warmth of a table.
A good page can put a pro image next to a phone moment, if the tones stay compatible. Avoid putting 15 different filters on the same double page.
Step 6: choose the print format
- An online photo book: fast, good for starting.
- A handmade album: more expensive, an object to keep for a long time.
- Prints in a box, plus notes: flexible if you do not like a fixed book.
Print a "close family" version before you order ten copies.
What not to do
- Start the layout before you have a complete backup.
- Aim for 200 pages because you have 2000 photos.
- Leave the sort to five people with no final decision maker.
- Wait a year to gain distance, with no date in the calendar.
In summary
Making a keepsake album is editing. You do not need every photo. You need the right ones, in the right order, with a clear limit.
When your guest collection and your pro files are already in the same place, the next step becomes doable. A clean export from a gallery (Komos, for example) prepares the ground before the paper object. The ZIP of the originals unlocks on pricing.